Flare correction
In this small article we will learn how to avoid the flare problems in many pictures.
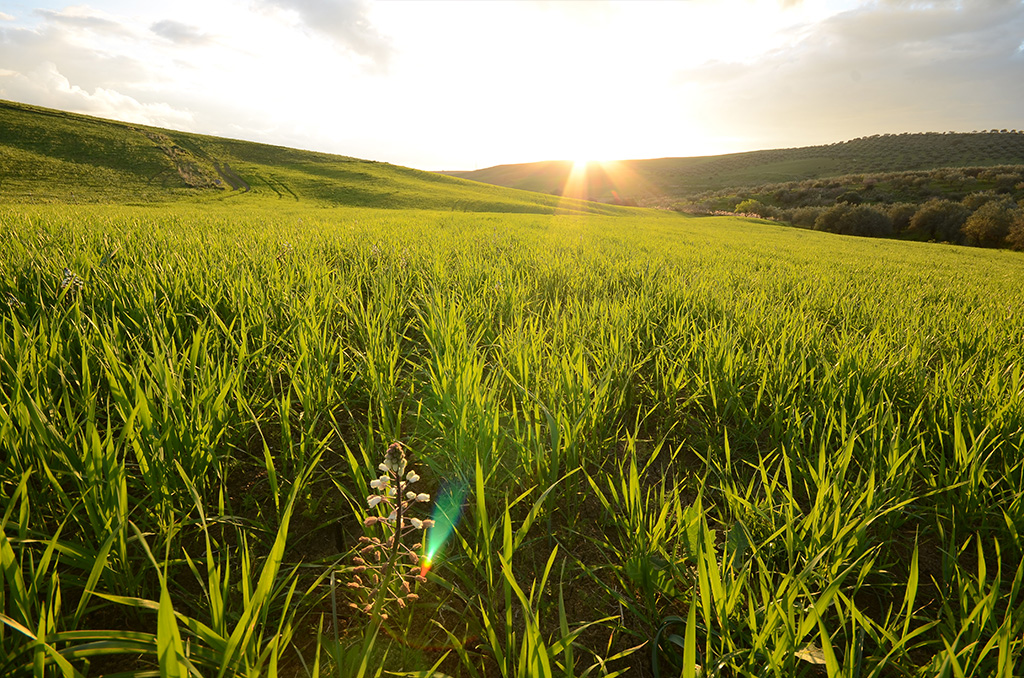
The flare is caused by the rays of the sun who strikes directly the front lens of the objective.
It has a polygonal form (spots) with different colored stripes.
This problem occurs when you shoot against the sun, even when the sun is not in the frame, and is more frequent when we use a wide angle.
Some lens (the cheapest) are more prone to this problem and the effects can be amplified if we also use additional filters.
Sometimes we don't notice the flare until you review the pictures on the computer, so let's follow this little guide to minimize the risks at the time of shooting.
1. Mount the lens hood
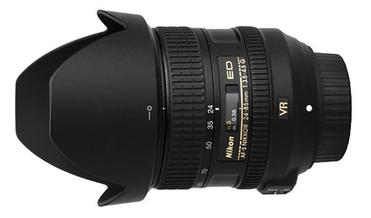
If our wide angel has a hood, let's use it: it reduces flare problems with scenes shot were the sun is low.
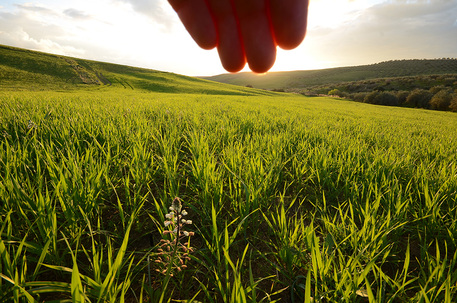
Alternatively we can also shield the lens with a black card or with the hand, the important thing is that you don't see it in the frame.
2. Hide the sun
Hide the sun behind something, like a tree or a building, or await it to be partially obscured by a cloud.
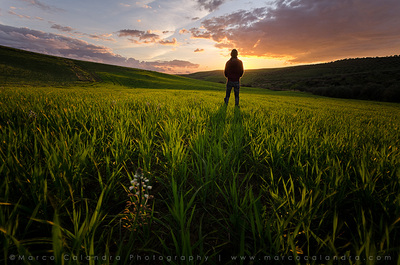
Compose so only part of the sun is visible, then shoot at very close aperture, like f/16: we will create a glowing effect, but without distractions and defects.
Hide the sun behind something, like a tree or a building, or await it to be partially obscured by a cloud.
Compose so only part of the sun is visible, then shoot at very close aperture, like f/16: we will create a glowing effect, but without distractions and defects.
3. Merge two photos
We can also merge two or more picture in photoshop to have the final result: one taken normally and the other with the sun covered with a finger or a cardboard, to prevent the flare in the rest of the scene.
We can also merge two or more picture in photoshop to have the final result: one taken normally and the other with the sun covered with a finger or a cardboard, to prevent the flare in the rest of the scene.


